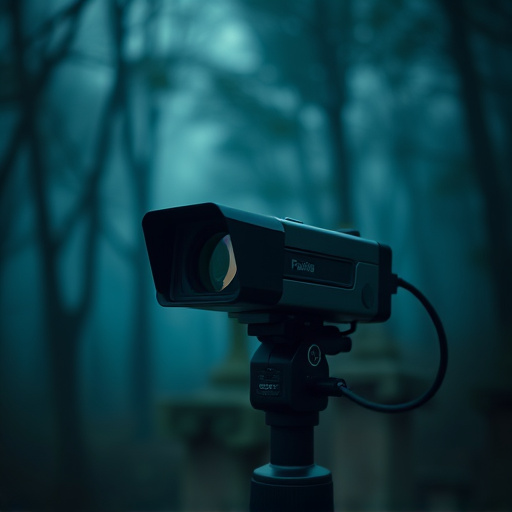
Strategic placement of night vision spy cameras near entry points and at suitable angles ensures maximum coverage with no blind spots. Consider field of view (FOV), zoom capabilities, and mounting height for optimal deterrence without compromising privacy. Leverage terrain and natural obstacles to plan open areas with unobstructed line-of-sight and high points for panoramic views. Thoroughly test each device for video quality, audio clarity, motion detection, and low-light performance.
“Enhance your home security with our comprehensive guide on conducting a surveillance device sweep using night vision spy cameras. Learn the art of strategic placement, from basic techniques to optimizing positions for maximum coverage. Discover how to secure and test your setup effectively, ensuring a robust defense against unwanted visitors. This step-by-step approach to Night Vision Spy Camera Placement equips homeowners with the tools to safeguard their properties like professionals.”
- Night Vision Spy Camera Placement Basics
- Strategizing Optimal Camera Positions
- Securing and Testing Your Surveillance Setup
Night Vision Spy Camera Placement Basics
When planning a residential property surveillance setup, strategic placement of night vision spy cameras is key. These cameras are designed to capture clear images in low-light conditions, making them ideal for around-the-clock monitoring. Typically, placing them near entry points like doors and windows offers maximum coverage. Positioning them at angles that face these access points allows for wider viewing areas, ensuring no blind spots exist.
It’s essential to consider the camera’s field of view (FOV) and zoom capabilities as well. A wider FOV covers a larger area, while adjustable zoom lets you focus on specific details from a distance. Mounting them at heights that avoid easy detection encourages their effectiveness in deterring potential intruders without compromising privacy.
Strategizing Optimal Camera Positions
When planning a surveillance device sweep, strategic camera placement is key. Consider factors like terrain, natural obstacles, and areas needing close monitoring. For optimal night vision spy camera placement, position cameras in open areas where line-of-sight is unobstructed to capture clear images in low light conditions. Look for high points like rooftops or trees offering a panoramic view of the property. Additionally, place cameras near potential entry points such as doors and windows to deter intruders.
Securing and Testing Your Surveillance Setup
After setting up your surveillance devices, securing and testing your setup is crucial for ensuring effective monitoring. Start by strategically placing night vision spy cameras in key areas around your property, taking advantage of their infrared technology to capture clear images even in complete darkness. Position them in places where potential intruders are likely to approach or enter, such as entry points, pathways, and blind spots.
Once the physical placement is complete, test each device thoroughly to verify its functionality. Check video quality, audio clarity, motion detection sensitivity, and low-light performance. Ensure all cameras are connected properly to your recording system, and review the footage to confirm it accurately reflects what the camera captures. Regular testing not only ensures optimal performance but also helps you identify any potential issues or areas for improvement in your overall security setup.
When it comes to choosing the right night vision spy camera placement, understanding your property and potential surveillance needs is key. By strategically positioning cameras with optimal angles and cover, you can create a comprehensive security system that provides peace of mind. Remember, the goal is to blend in while capturing clear, detailed footage, making informed decisions based on your unique surroundings. With the right setup, you’ll be well-equipped to monitor your property effectively around the clock.